Tutorial cnorm
To learn more about cnorm see the commands page.
Step 1 : Tutorial Setup
Create a folder on c:\ drive called "c:\smcl". Download the following image
"normal.png" and place it in the folder.

Next open a text editor and save the blank file as "tutorial_cnorm.bat" in the smcl folder.
Step 2 : Write the Batch Script
Open the file "c:\smcl\tutorial_cnorm.bat" in the text editor. Copy & paste the following three lines:
CD "C:\Program Files\ShaderMap CL"
START /WAIT shadermap.exe cnorm "c:\smcl\normal.png" -disp (*,*,*,*) -ambo(*,*,10,31,29,0,*) -spec(*,-50,13) -v
Now save the file.
START /WAIT shadermap.exe cnorm "c:\smcl\normal.png" -disp (*,*,*,*) -ambo(*,*,10,31,29,0,*) -spec(*,-50,13) -v
Step 3 : Understanding the Script
The first line of the script sets the working directory.
The second line runs Shadermap CL with the cnorm command followed by command arguments which will be explained below:
-disp (*,*,*,*)
-disp creates a displacement map from the normal map with default argument parameters.
-ambo(*,*,10,31,29,0,*)
-ambo creates the ambient occlusion map from the displacement map using a mix of default and custom parameter values.
-spec(*,-50,13)
-spec creates the specular map using a mix of default and custom values.
Step 4 : Run the Script
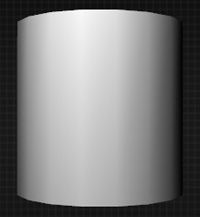
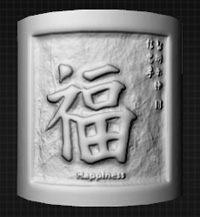
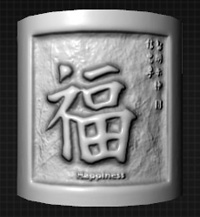
Next open the smcl folder and double click on the batch file "tutorial_cnorm.bat". Below are example renderings
using the created maps.
(No Maps) / (Norm + Disp) / (Norm + Disp + Ambo + Spec)
Step 5 : View Your Files
The created maps, as in the other tutorials, can now be found in the source directory.